How to update Analytics 5.1.x
The procedures on this page update Analytics 5.1.x to 6.0.0. For information about updating earlier releases to 5.1.2, see Upgrading Analytics 5.0.x or Upgrading Analytics 4.x.
Before proceeding, review the release notes.
To perform the update procedures, your Analytics and MariaDB server host must have internet access, and you need permission to download packages from delivery.zenoss.io.
Update the server host operating system
Release 6.0.0 was tested on recent releases of CentOS and RHEL. Before updating the software, Zenoss recommends updating the operating system of the Analytics and MariaDB server host to a tested release. For more information, refer to your operating system documentation.
Perform the procedures on this page in the order in which they appear.
Update MariaDB server
-
Log in to the MariaDB server host as root or as a user with superuser privileges.
-
Stop the Analytics and MariaDB servers.
service zenoss_analytics stop && systemctl stop mysql -
Remove MariaDB and its dependencies.
yum remove mariadb-server && yum autoremove -
Create a custom MariaDB 10.6 repository.
-
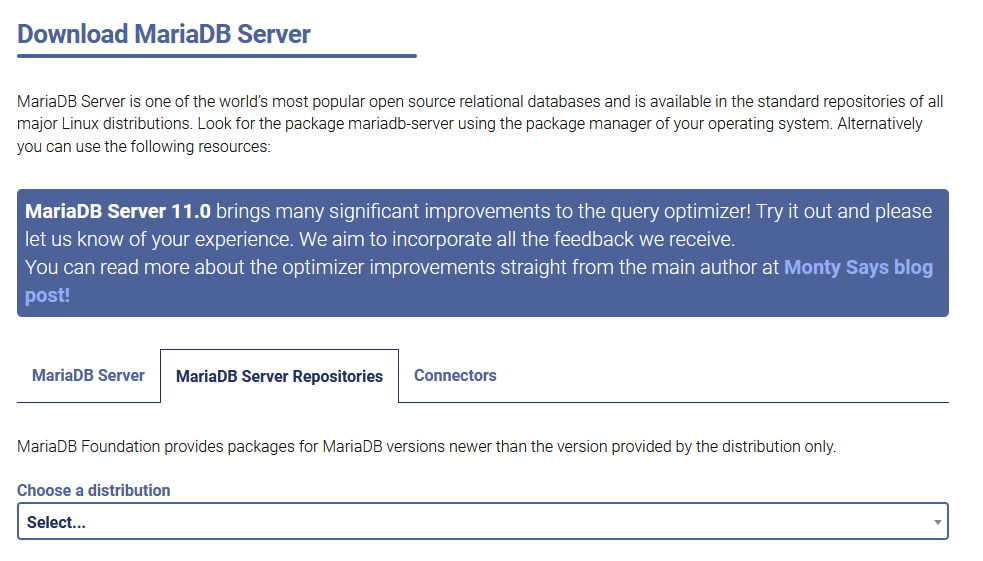
Open the Download MariaDB Server page.
-
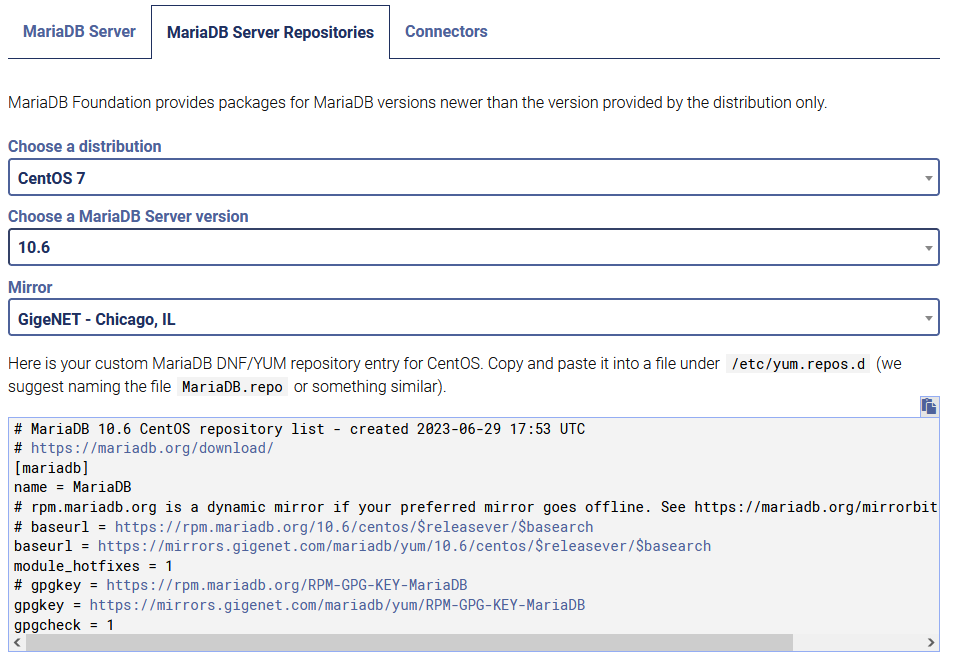
Use the form to create a custom repository specification.
-
Determine whether you have a MariaDB repository specification.
ls /etc/yum.repos.dIf you have one, the file is named
MariaDB.repoormariadb.repo(letter case is ignored). -
If necessary, create a file for the repository specification.
[[ -f /etc/yum.repos.d/MariaDB.repo ]] \ || touch /etc/yum.repos.d/MariaDB.repo -
Open the file, copy the specification from the web site, and then paste it into the file.
Example specification:
# MariaDB 10.6 CentOS repository list - created 2023-06-29 13:23 UTC
# https://mariadb.org/download/
[mariadb]
name = MariaDB
# rpm.mariadb.org is a dynamic mirror if your preferred mirror goes offline.
# See https://mariadb.org/mirrorbits/ for details.
# baseurl = https://rpm.mariadb.org/10.6/centos/$releasever/$basearch
baseurl = https://mirrors.gigenet.com/mariadb/yum/10.6/centos/$releasever/$basearch
module_hotfixes = 1
# gpgkey = https://rpm.mariadb.org/RPM-GPG-KEY-MariaDB
gpgkey = https://mirrors.gigenet.com/mariadb/yum/RPM-GPG-KEY-MariaDB
gpgcheck = 1
-
Determine whether you have a MariaDB repository specification.
ls /etc/yum.repos.dIf you have one, the file is named
MariaDB.repoormariadb.repo(letter case is ignored). -
If necessary, create a file for the repository specification.
[[ -f /etc/yum.repos.d/MariaDB.repo ]] \ || touch /etc/yum.repos.d/MariaDB.repo -
Open the new file, and then copy the following specification into the file.
[mariadb]
name = MariaDB
baseurl = https://rpm.mariadb.org/10.6/rhel/8/x86_64
module_hotfixes = 1
gpgkey = https://rpm.mariadb.org/RPM-GPG-KEY-MariaDB
gpgcheck = 1
-
-
Update the YUM cache.
yum clean all && yum makecache fast -
Install MariaDB 10.6.
yum install mariadb-serverYou may encounter errors during the upgrade. If so, try upgrading to release 10.3, then upgrading 10.3 to 10.6.
-
Update
systemd.systemctl daemon-reload -
Enable start on system boot.
systemctl enable mariadb
Update MariaDB databases
-
Log in to the MariaDB server host as root or as a user with superuser privileges.
-
Remove an outdated configuration setting.
sed -ie '/innodb_adaptive_hash_index=OFF/ d' /etc/my.cnf -
Start the MariaDB server.
systemctl start mariadb -
Check the server's status.
systemctl status mariadb -
Confirm the server is operating normally.
mysql -u root -
Update databases.
mysql_upgradeTypically, the upgrade process takes several minutes to complete.
You may see the following error:
ERROR 1932 (42S02) at line 476: Table 'mysql.innodb_index_stats' doesn't exist in engine
FATAL ERROR: Upgrade failed
To recover, perform this procedure.
Update Analytics
-
Log in to delivery.zenoss.io and download the Analytics RPM packages for your operating system.
- zenoss-analytics-6.0.0-1.el7.x86_64.rpm
- zenoss-analytics-mysql-plugin-1.0.2-1.el7.x86_64.rpm
- zenoss-analytics-6.0.0-1.el8.x86_64.rpm
- zenoss-analytics-mysql-plugin-1.0.2-1.el8.x86_64.rpm
Copy the packages to your Analytics server host.
-
Log in to the Analytics server host as root or as a user with superuser privileges, and then change directory to the directory where the Analytics RPM packages are located.
-
Remove Analytics 5.1.x.
yum remove zenoss_analytics -
Install Analytics 6.0.0.
yum install zenoss-analytics-6.0.0-1.el[78].x86_64.rpmYou may see the following error:
error: unpacking of archive failed on file /opt/zenoss_analytics/conf/catalina.properties;644bdb54: cpio: renameTo recover, remove the file, and then re-run the
yum installcommand.rm '/opt/zenoss_analytics/conf/catalina.properties;644bdb54' -
Install the MariaDB plugin.
yum install zenoss-analytics-mysql-plugin-1.0.2-1.el[78].x86_64.rpm -
Run the plugin setup script as user
zenoss.su - zenoss /opt/zenoss_analytics/bin/setup_zenoss_extensions installOn success, the script returns
Function 'percentile' is already installed. Proceed to step 7.On failure, perform the following substeps.
-
If you get a credentials error, re-run the script and provide the password for the MariaDB root user.
/opt/zenoss_analytics/bin/setup_zenoss_extensions -p installEnter root’s password when prompted.
- If the script succeeds, proceed to step 7.
- If the script fails, continue with the following substeps.
-
Stop the Analytics server and then restart MariaDB.
sudo systemctl stop zenoss-analytics && sudo systemctl restart mariadb -
Verify the plugin is working.
/opt/zenoss_analytics/bin/setup_zenoss_extensions checkIf you get a credentials error, re-run the script and provide the password for the MariaDB root user.
/opt/zenoss_analytics/bin/setup_zenoss_extensions -p checkEnter root’s password when prompted.
On success, the script returns a result similar to the following:
Function 'percentile' is already installed
-
-
Exit the
zenossshell.exit -
Update
systemd.systemctl daemon-reload -
Enable and start the Analytics server.
systemctl enable zenoss-analytics && systemctl start zenoss-analytics
Update or remove ZenPacks
To complete your update, install the new ZenETL ZenPack and remove the ZenossAnalyticsMonitoring ZenPack.
-
Download the new ZenETL ZenPack from delivery.zenoss.io and then follow the standard ZenPack installation procedure to install it.
-
Follow the standard ZenPack removal procedure to remove the ZenossAnalyticsMonitoring ZenPack.
Database upgrade error recovery procedure
The output of mysql_upgrade may result in the following error:
ERROR 1932 (42S02) at line 476: Table 'mysql.innodb_index_stats' doesn't exist in engine
FATAL ERROR: Upgrade failed
If so, perform the following recovery steps:
-
Log in to the Analytics server as root or as a user with superuser privileges.
-
Start an interactive session with the
mysqlclient.mysql -u root mysql -
Drop the tables that cause the error.
drop table gtid_slave_pos; drop table innodb_index_stats; drop table innodb_table_stats; -
Exit the session.
quit -
Change directory to the MariaDB data directory.
cd /var/lib/mysql/mysql -
Delete the data files of the dropped tables.
rm gtid_slave_pos.ibd innodb_index_stats.ibd innodb_table_stats.ibd -
Restart MariaDB.
systemctl restart mariadb -
Start the database upgrade.
mysql_upgrade