Creating a master host with vSphere
To perform this task, you need:
- A VMware vSphere client
- Permission to download files from delivery.zenoss.io. Customers can request permission by filing a ticket at the Zenoss Support site.
This procedure installs Resource Manager OVA packages as a virtual machine managed by vSphere Server version 6.5.0, using VMware vSphere Web Client 6.5. The procedure might differ with other versions of VMware vSphere Client.
-
In a web browser, navigate to delivery.zenoss.io, and then log in.
-
Download the Resource Manager master host OVA file for the current release. Replace
VERSIONwith the current release number (for example, 6.9.0).zenoss-zsd-VERSION-1-master.vmware.ova -
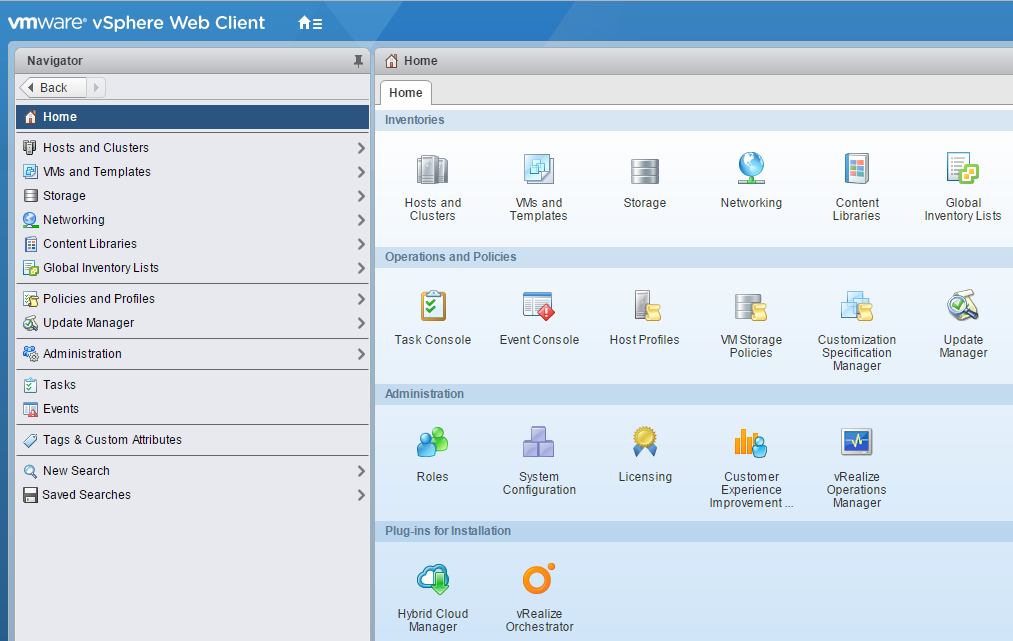
Use the VMware vSphere Client to log in to vCenter as root, or as a user with superuser privileges, and then display the Home view.
-
Choose VMs and Templates.
-
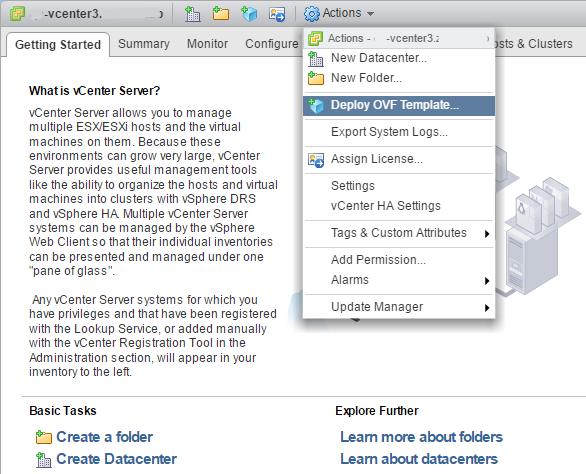
In the top navigation bar, choose Actions > Deploy OVF Template.
-
Use panels in the Deploy OVF Template wizard to select the OVF package:
-
To choose the package from a drive on your workstation or network share, browse to the location and choose the OVA file. Click Next.
-
Select name and location: Specify a name for the OVF, select a datacenter or folder as the deployment location, and then click Next.
-
Select a resource: Select the host, cluster, or other resource on which to run the deployed template, and then click Next.
-
Review details: Verify the template details, and then click Next.
-
Select storage: In Select virtual disk format, choose Thin Provision, accept defaults for other fields, and then click Next.
-
Select networks: Accept defaults and click Next.
-
Ready to Complete: Verify the deployment settings, and then click Finish. The Recent Tasks pane displays deployment progress and status information.
-
-
Navigate to the new virtual machine's Getting Started tab, and then click Edit virtual machine settings.
-
For a multi-host deployment, edit the Virtual Hardware settings of the virtual machine.
-
Change the settings.
- Reduce the number of CPUs from
8to4. - Reduce the amount of memory from
32to16.
- Reduce the number of CPUs from
-
Click OK.
-
-
On the new virtual machine's Getting Started tab, click Power on virtual machine.
-
In the top navigation bar, choose Actions > Open console.
Proceed to Configuring the Control Center master host.