Initial login
The first time you log in to Resource Manager, you will immediately be taken to a startup wizard where you will perform the following tasks:
- Set your admin password
- Set your personal login
- Discover devices (optional)
- Add Infrastructure (optional)
- Setup SMTP (optional)
To use the startup wizard, follow these steps:
-
Launch your Resource Manager application the first time by clicking on the Virtual Host Name in Control Center. You will be presented with the following page showing you the initial steps to follow:
2. Click Get Started to begin the wizard.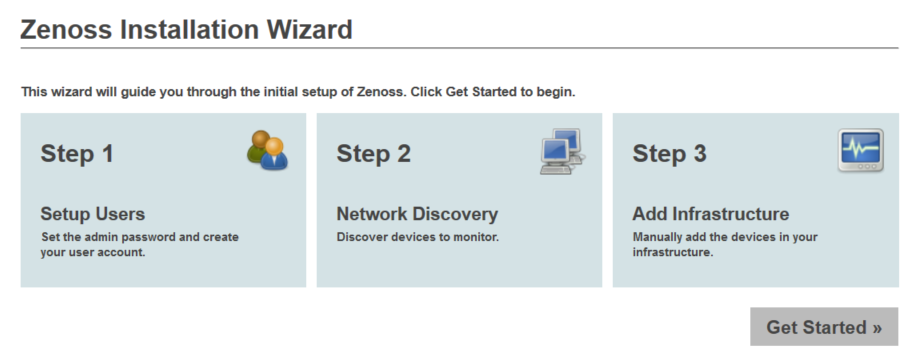
-
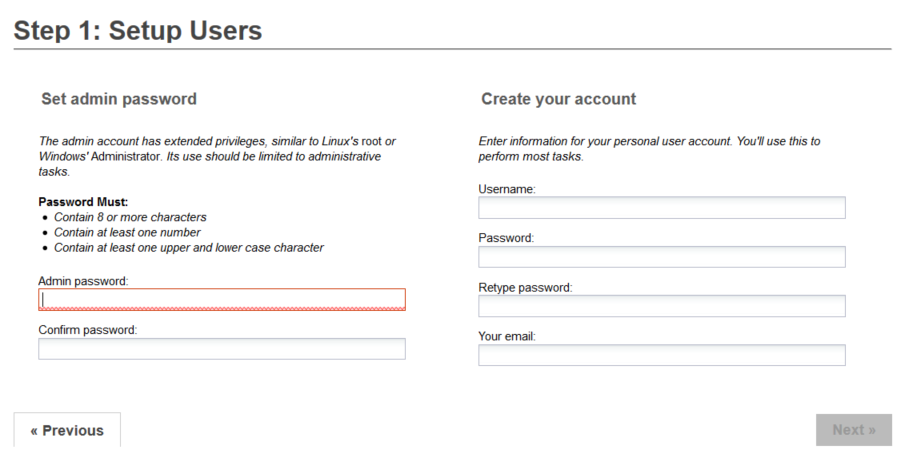
Set the password of the admin account and create your personal account. Click Next.
-
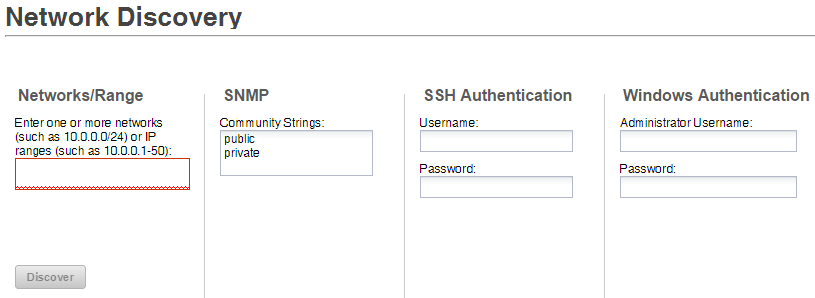
Optional: Discover devices. If you are not ready to discover devices, you can skip this page and add devices later. For more information about the fields on this page see Adding and discovering devices. To continue, click Next.
-
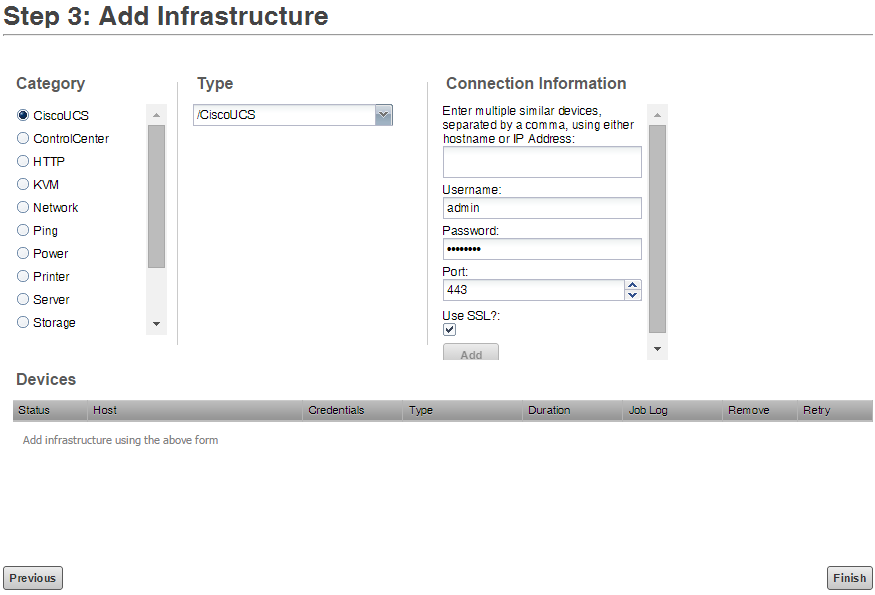
Optional: Add devices. For each device, select the category, type and enter the connection information. If you are not ready to add devices, you can skip this page. When you are ready to continue, click Done. You will be taken to the Dashboard view of Resource Manager.
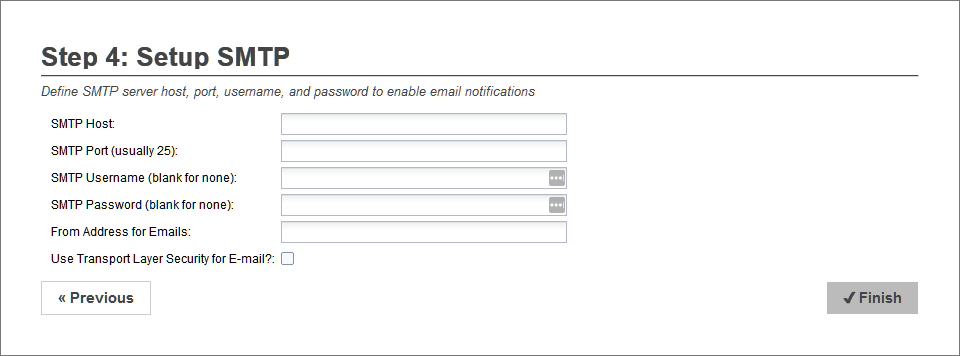
- Optional: Setup SMTP. For email notifications, define your SMTP host, port, and credentials.
Note: When you launch Resource Manager in the future, you will go directly to the login screen.