Installing a master host
For the complete list of installation instructions, see Installing Resource Manager.
Deploying Resource Manager
Use this procedure to add the Resource Manager application to Control Center and tag application images in the local registry.
-
Log in to the Control Center master host as a user with serviced CLI privileges.
-
Add the Resource Manager application template to Control Center.
serviced template add /opt/serviced/templates/zenoss*.jsonOn success, the
servicedcommand returns the template ID. -
Identify the resource pool to which the host belongs.
serviced host list -
Deploy the application.
- Replace
Template-IDwith the identifier of the Resource Manager application template (returned in step 2) - Replace
Poolwith the name of the resource pool to which the master host belongs (single-host system) or to which the delegate hosts belong (multi-host system) - Replace
Deployment-IDwith a name for this deployment (for example,TestorProduction)
serviced template deploy Template-ID Pool Deployment-IDControl Center tags Resource Manager images in the local registry.
- Replace
-
If you are creating a single-host deployment, proceed to Configuring Resource Manager.
-
If you are creating a multi-host deployment, proceed to Installing delegate hosts.
Adding the master host to a resource pool
Complete this procedure to add the Control Center master host to the
resmgr resource pool.
-
Gain access to the Control Center host, through the console interface of your hypervisor, or through a remote shell utility such as PuTTY.
-
Start a command-line session as root or as a user with superuser privileges.
-
In the Appliance Administration menu, select Root Shell.
-
Select Run, and then press
Enter. The menu is replaced by a command prompt similar to the following example:[root@hostname ~]#
-
-
Add the master host to the
resmgrresource pool.Replace
Hostname-Or-IPwith the hostname or IP address of the Control Center master host:serviced host add --register Hostname-Or-IP:4979 resmgrNote
If you enter the hostname or fully-qualified domain name of the master host, you need an entry in the
/etc/hostsfile of the delegate host or a nameserver on your network that resolves the name to its IPv4 address. -
To exit the command-line session, at the command prompt, enter
exit.
Configuring the Control Center master host
Perform this procedure immediately after creating and starting the Control Center master host. All Control Center deployments must include one master host.
-
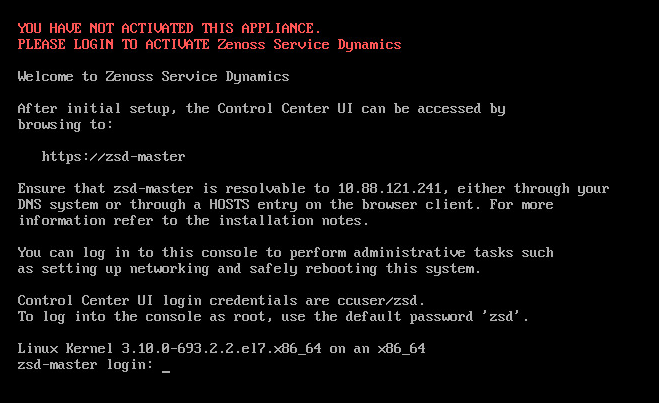
Gain access to the console interface of the Control Center host through your hypervisor console interface.
-
Log in as the
rootuser.The initial password is provided in the console.
-
At the system prompt, enter a new password for
root. -
At the system prompt, enter a new password for
ccuser.The
ccuseraccount is the default account for gaining access to the Control Center browser interface.