Working with notifications
Defining a notification involves the following steps:
- Create the notification - This step defines the name and the type of a notification.
- Edit the notification - This step associates triggers, specifies the action, and for email actions, specifies the list of recipients.
- Set a schedule for the notification - if desired. This optional step defines a time window during which a notification is active.
Best practice recommendations
Use the Count property in triggers and the delay and repeat options in notifications to calibrate the sensitivity of a notification.
- Typically, configuring a notification to initiate its action the very first time one of its triggers matches an event results in false alarms. Services send events in response to temporary conditions frequently, so a delay, a count, or both can reduce frustrating false alarms.
- Set delays at a minimum of one polling cycle plus 10%. This provides enough time to determine whether the observed conditions are temporary or symptoms of an issue that needs attention. The default polling cycle is 300 seconds (5 minutes) and is defined by the zPropertyMonitorInterval property.
- The repeat option has priority over other options, except delay. So even if the Send only on Initial Occurrence option is checked, the notification action is repeated until the trigger no longer matches an event.
- The Send only on Initial Occurrence option is useful for all events except intermittent, out-of-band events.
For more information about notifications, take a look at this video.
Creating a notification
Follow these steps:
-
Navigate to EVENTS > TRIGGERS.
-
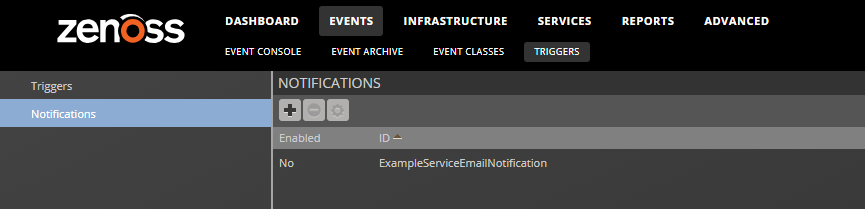
In the left column, click Notifications.
-
In the NOTIFICATIONS area, click the Add icon.
-
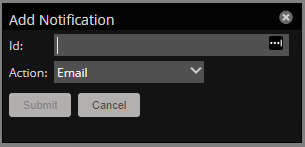
In the Id field, enter a name for the notification.
Use descriptive names. If possible, use a name that identifies the trigger that the notification contains. For example,
LinuxDBServerFileSystemHigh_Email.Only uppercase and lowercase letters, digits, spaces, and underscores are allowed in notification names.
-
In the Action field, choose an action type.
Action Description AWS Email Host Send a plain-text or HTML email message through Amazon SES. You must have an Amazon SES account to use this action. Command Invoke a Linux shell command or script on a remote host. Use this action to correct issues automatically or integrate with external systems. Email Send a plain-text or HTML email message through the default Resource Manager SMTP service. Syslog Send a message to a sysloghost.SNMP Trap (v1/v2c) Send an SNMP trap to a v1 or v2c network management station. Event details are converted to OIDs. SNMP Trap w/Impact Send an SNMP trap with additional event details that are specific to Service Impact. SNMP Trap (v3) Send an SNMP trap to a v3 network management station. Event details are converted to OIDs. WinCommand Invoke a Windows CMD or PowerShell command on a remote host. The list of actions in a Resource Manager instance may include additional options, because ZenPacks can introduce new actions.
-
Click Submit.
Editing a notification
Follow these steps:
-
Navigate to EVENTS > TRIGGERS.
-
In the left column, click Notifications.
-
Double-click the name of the notification to edit.
-
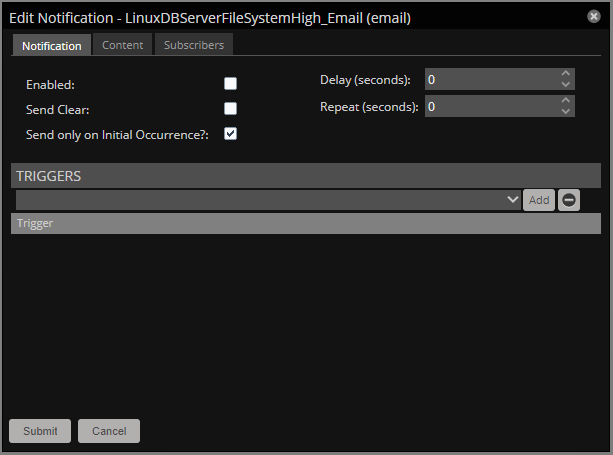
On the Notification tab, configure the notification.
Option Description Enabled Activate or deactivate the notification. (Use a notification schedule to override this option for specific periods of time.) Send Clear Perform the action when the problem is resolved by a clearing event. Send only on Initial Occurrence? Perform the action only the first time a trigger matches an event. Delay (seconds) The number of seconds to wait before performing the action. Repeat (seconds) The number of seconds to wait before performing the action again. The action repeats until the triggering event is cleared. -
On the Notification tab, add one or more triggers.
-
From the drop-down list in the TRIGGERS area, choose a trigger.

-
Click Add.
- Repeat the previous substeps as desired.
-
-
On the Content tab, configure the action. For more information, see one of the following sections:
-
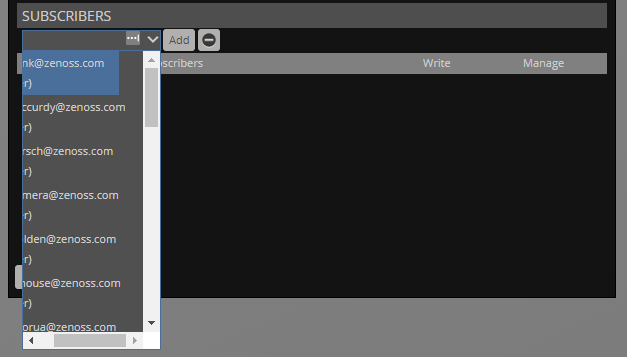
For AWS Email Host and Email actions only: On the Subscribers tab, specify the recipients.
To simplify maintenance, use groups rather than individual recipients.
-
From the drop-down list in the SUBSCRIBERS area, choose a recipient.
-
Click Add.
- Repeat the previous substeps as desired.
-
-
Click Submit.
Setting a notification schedule
A notification schedule defines the time window when a notification is active. When a notification is inactive, the event processing service does not initiate its action. Typical use cases for notification schedules include scheduling production hours, managing service level agreements, and configuring after-hours procedures.
Defining a notification schedule includes the following steps:
- Create the notification schedule - This step associates a specific notification with a schedule object.
- Edit the notification schedule - This step configures the schedule.
Creating a notification schedule
Follow these steps:
-
Navigate to EVENTS > TRIGGERS.
-
In the left column, click Notifications.
-
In the NOTIFICATIONS area, click the name of the notification to schedule.

-
In the NOTIFICATION SCHEDULES area, click the Add icon.
-
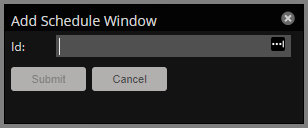
In the Id field, enter a name for the schedule.
Schedules are bound to notifications, so the name can just describe the schedule.
-
Click Submit.
Editing a notification schedule
Follow these steps:
-
Navigate to EVENTS > TRIGGERS.
-
In the left column, click Notifications.
-
In the NOTIFICATION SCHEDULES area, double-click the name of the schedule to edit.
-
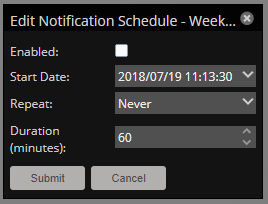
In the Edit Notification Schedule dialog box, configure the schedule.
Field Description Enabled Activate or deactivate the schedule. Start Date The first date and time at which the schedule is active. Repeat The schedule frequency, one of the following options:
- Never
- Daily
- Every Weekday
- Monthly
- First Sunday of the Month
Duration (minutes) The length of time for the schedule. -
Click Submit.
Setting individual notification permissions
You can grant permissions to individual users or groups.
- Write - Select this option to grant the user or group permission to update the notification.
- Manage - Select this option to grant the user or group permission to manage the notification.
You can manually enter in the name of a user or group, or select one from the list of options.