Change SSL settings
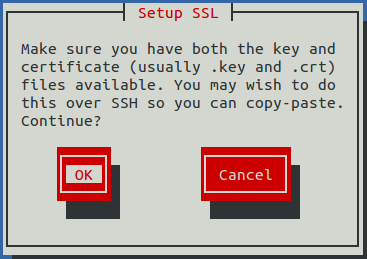
To perform this procedure, you need to be able to display the contents of the SSL certificate and key files that you want to install on the Control Center master host, and you need a copy of the root certificate file (rootCA.pem). In addition, Zenoss recommends logging in to the master host through SSH, rather than the hypervisor console, so that you can copy and paste content.
This option allows you to provide new content for SSL certificate and key files.
-
Gain access to the Control Center host, through the console interface of your hypervisor, or through a remote shell utility such as PuTTY.
-
Log in as the root user.
-
Use the Down Arrow key to select Change SSL settings, and then press Enter.
-
When you are ready to add the contents of your SSL certificate and key files to the Control Center master host, press Enter.
-
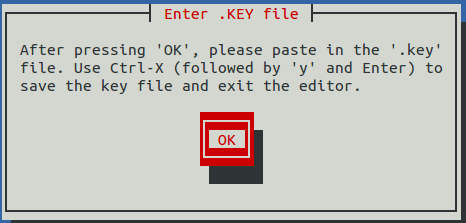
Press Enter. The Appliance Administration menu is replaced with the nano text editor.
-
Enter the contents of your SSL key file, and then save the file and exit the editor.
-
Press Ctrl-O.
-
Press Ctrl-X.
-
Press y, and then press Enter.
-
-
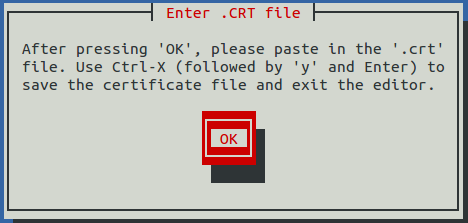
Press Enter. The Appliance Administration menu is replaced with the nano text editor.
-
Enter the contents of your SSL certificate file, and then save the file and exit the editor.
-
Press Ctrl-O.
-
Press Ctrl-X.
-
Press y, and then press Enter.
-
-
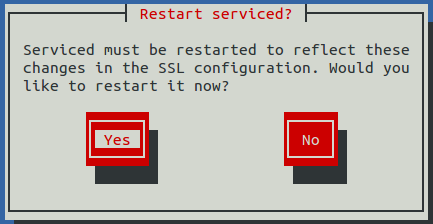
Restart the Control Center daemon (
serviced) now or later. Restartingservicedpauses Resource Manager services briefly.-
To restart serviced now, press Enter.
-
To restart serviced later, press Tab to select No, and then press Enter.
-
-
Install the root certificate into browser clients. The procedures for installing a root certificate into a browser client varies by browser and client operating system. For more information, refer to your browser documentation or articles such as this one.