Creating a virtual host public endpoint
Use this procedure to create a new virtual host public endpoint. Virtual host public endpoints must use SSL/TLS communications.
- Log in to the Control Center browser interface.
-
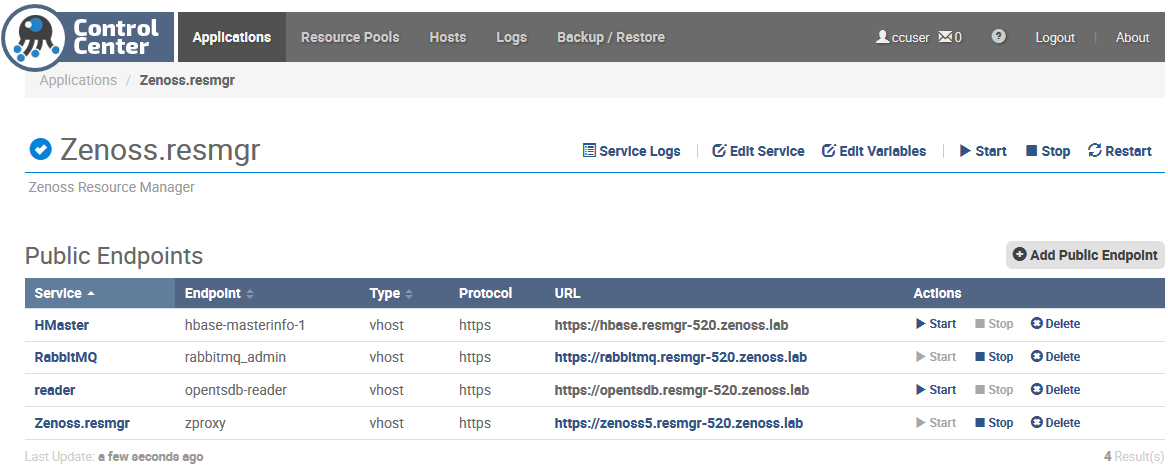
In the Application column of the Applications table, click the application name (Zenoss.resmgr).
-
On the right, above the Public Endpoints table, click Add Public Endpoints.
-
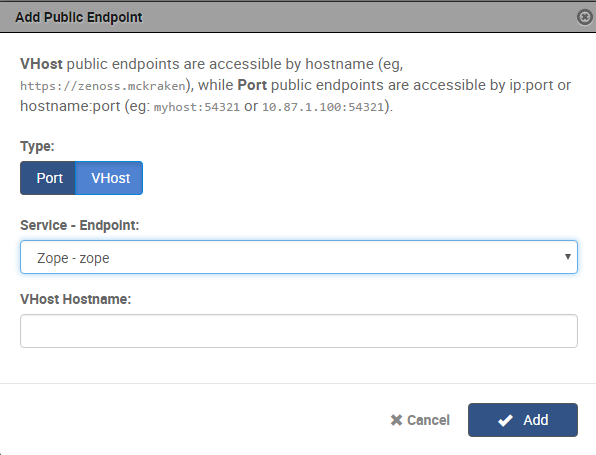
Define a new virtual host public endpoint.
-
In the Type area, click VHost.
-
From the Service - Endpoint list, select Zenoss.resmgr - zproxy.
-
In the VHost Hostname field, enter a virtual hostname.
The hostname must be different from the Control Center hostname. For example, if the Control Center host is https://zenoss.123, then the virtual hostname cannot be zenoss-123.
The following strings of text are valid in this field: - A fully-qualified domain name (FQDN). Any string of text that includes one or more full stop characters (.) is treated as an FQDN. - A string of text that contains only letters and one or more hyphen characters (-). The string is prepended to the hostname of the Control Center master host, with a full stop character (.) separating the string and the hostname.
-
Click Add.
-